Showing posts with label Nails!. Show all posts

Friday, February 7, 2014

Let's Get Colorful!

When I got my first department store job (Beauty Adviser at Lancome haha) I was so excited to get to see the collections of what was launching around 6 months prior to the launch date.  All the colors, the textures, and to find out before anyone else knew!!!  Oh the joy in my lil' heart!  It was like God single-handedly wanted me to be trendy!  At least that's what I thought in my 18yr old head at the time... 

Then the launch date rolled around and as I looked around at all the other counters and what they had launched, everything began to look somewhat similar.  Lancome at the time launched a blue liquid eyeliner (can't remember the name), then I noticed Estee Lauder launched a similar color in an eyeshadow, and Chanel launched it in a nail polish.  Almost all the collections were like that.  Then you walk around the corner in the store and see the same color pallet repeated in the fashion!  And I got to wondering-- HOW DO THEY KNOW!?!?  How do they know what colors are going to be "trendy" and how do they all end up on the exact same shades?  Did they all have the same dream or something!?  I was 18- forgive me.  I really just couldn't figure it out.  So-- at the risk of making my boss' at the time wonder why they hired me- I asked.  And now, all these years later, I get to share all that information with all of you beauties!  I'm sure there is somebody out there that doesn't know this yet and would appreciate this post...  

It wasn't a dream or any super-fashion power!  I found out it actually gets decided by a committee.  They get together and decide what the "colors of the season" are going to be.  One of the most influential committees is a group of 10 people, whose names are a total secret.  They meet in Europe twice a year- May and November- at the invitation of Pantone, a company based in New Jersey, whose ONLY business is color!

They meet in an all white room so everyone can very clearly see what their colleagues brought as color inspiration.  Apparently one time a committee member brought in a basket full of onions and they chopped up all the onions to show just how beautiful the color of onion is.  When I heard this, I literally laughed because the most hilarious image came to my mind.  Everyone must have had irritated eyes in that room since they chopped the onions there, and so- I literally imagined ten grown adults standing in a circle appearing to be hysterically weeping (like, ugly-cry-weeping) over the beauty of onions.  Maybe it's just me- but I find that pretty funny!  But as much as that all may sound totally ridiculous, the artist in me completely understands how inspiration can come at any point, from any where.  So bring on the onions, I guess!?

I got into this whole story to share with you the color boards of 2014!  You'll be seeing (and probably have already seen) these colors pop up EVERYWHERE!  In furniture, paint colors, fashion, accessories, in all kinds of fabrics for all kinds of things, and of course- in makeup and nail polishes!  I wanted to equip you to have your color trendiest year yet!  

Color Report for Fall/Winter 2014 


Color Report for Spring/Summer 2014


Now you know what colors are "in" this year!  It's pretty awesome to feel like you're ahead of the style game, huh?  Have a great weekend and stay colorful beauties!

Love,
Michelle


PS- See you back on Monday morning for the next "Makeup Tip Monday!"

Thursday, February 6, 2014

Goof-Proof Glitter Manicure!!!

I know New Year's Eve has come and gone but the sparkle lover in me just can't resist a glitter manicure!  Glitter is great for every occasion!  Even non-occasion, occasions!  Right!?


A lot of times I don't have the time or patience to dote over my nails, but I really don't like not having them done!  So- easy fix- I go the glitter route!  

You can use any glitter you choose.  It can be fine milled (my preference) or chunky.  It can be cheap-o craft glitter or pricier cosmetic glitter; it doesn't matter.  It is so simple to do and it requires minimal time!  

There is a pro and con to this mani though...

The Pro- it doesn't come off!  So if you really want a fun, stress free nail this is totally the way to go!  I've sported the same glitter mani before for a VERY embarrassingly long time that I won't admit to out loud...

The Con- it doesn't come off!  Haha!  

But seriously, when the time comes to get this off your nails you may consider a chainsaw....

What you'll need to do to get it off is step away from the chainsaw and go make sure your polish remover is pure-acetone.  Then you just completely drench a cotton in the remover and just let it sit on each nail for a good 15 seconds (at least).  The patience you saved in doing this manicure will be used when it comes time to get it off!!!  I suggest having some good cuticle cream on stand-by because you're going to need it!

But it's so fun, pretty, and sparkly!  I just can't get enough sooo-- it's totally worth it! 

What you'll need (besides the usual file and nail buffer stuff):

Base Coat
Top Coat
Glitter of Your Choice
One Sheet of Paper 
A Flat Surface

That's it!!!

Step 1
File and buff your nails into shape.  If you like to push back and trim your cuticles, now is the time to do that too!  

Step 2 
Lay your sheet of paper down on your flat surface.  Your going to work over top of your paper so it can grab all the extra glitter.

Step 3 (the glitter fun begins)
Using the inside part of your glitter's bottle cap, pour a little glitter into it (about half a teaspoon worth).

Step 4 
Paint one nail with your base coat and before it dries sprinkle the glitter from the cap over top of your nail.  And by "sprinkle" I pretty much mean just dump it!  This doesn't really require a whole lot of finesse...

Step 5
Keep going across one nail at a time.


Step 6
Wait about 3-5 minutes from the time you finish your very last nail just to be sure the base coat underneath is completely dry.

Step 7
Go wash your hands in the sink to get all the extra glitter around your nails off.

Step 8
Top off your glitter manicure with your favorite top coat.  I like to do two coats just to smooth out the texture of the glitter.

Step 9
Bend your sheet of paper and funnel all the glitter that fell off right back into the container so you don't waste any and have more to do fun glitter manicures with in the future!

Step 10
Stare at your sparkly nails and be amazed!!!


That was super easy, right!?  Just in case you were wondering-- the glitter I used is MAC's Pro Glitter in Silver!  

I hope you all have a super sparkly day!

Love,
Michelle


Wednesday, February 5, 2014

Friday, January 24, 2014

5 Good To Know Beauty Tips

Just a few random beauty fix things to have in your brain's back pocket....

I've personally done all of these for years.  Some may be ones you've heard of or tried already, and hopefully there are a few that are new to you!  


#1  If you're out of your favorite exfoliator just mix a teaspoon of baking soda into your facial cleanser when you wash your face.  It's mild enough to not cause any microscopic scratches on your skin, but strong enough to get the job done!  Scrub, scrub, scrub!

#2  Toothpaste a breakout.  Weird but effective- this tip came in handy a lot back when I was 13 (my face could have been worse but it definitely wasn't pleasant)...  Toothpaste has a mixture of certain ingredients (baking soda, hydrogen peroxide, alcohol, menthol, and essential oils) which will cause a pimple to dry out, and it's already mixed for you!  

#3  If your fringe gets oily throughout the day and it starts to clump and separate and you don't have your trusty dry shampoo on hand- ladies that like to touch their hair constantly know what I'm talking about (I fall into that category), our finger tip oils get into our hair and totally mess with our hair vibes so, use two facial blotting papers to quickly absorb all the oil.  One to rub up on your scalp and the other to shake through your fringe.  That's the fail safe thing to do- your other option is the powder brush and translucent powder that you may have in your touch up bag- use a TINY bit of that.  IT HAS TO BE A TRANSLUCENT POWDER, otherwise it'll just look like you did your makeup blindfolded and you unfortunately completely missed your face...

#4  Vaseline your cuticles with a precise brush before you polish your nails, the petroleum jelly keeps your cuticle protected so it can stay a polish flood free zone, and bonus- it keeps them hydrated!   

#5  In the mood for a sheerer foundation but don't have one?  Just mix equal parts of your fuller coverage foundation with your facial moisturizer.  Instant tinted moisturizer!  I personally do this one a lot in the summer on vacation in an attempt to pack less makeup :)

Enjoy!

Love,
Michelle

Wednesday, January 22, 2014

Polished Paws Picks!

My Fall/Winter Nail Color Picks!

For me personally color in general is an expression of my mood, and my embarrassing sausage fingers are no exception to that.  I love the subtle statement you can make with your nails.  It's an inexpensive way to stay trendy, and to get to wear colors you maybe wouldn't normally in your makeup or wardrobe.  The best parts- you can change them as often as you'd like (or have time for) and the options are endless!  

These are my current favorite nail colors to sport for Fall/Winter 2014.  Some are new colors but most are old stand-by's in each collection.  

No Place Like Chrome by Essie


It's like liquid metal nails!  Gotta love that!

Marshmallow by Essie


A sheer creamy white.  It's the perfect winter white nail polish! 
(I'm actually wearing this color this week)

Muggins by Butter London


I've been really loving gray this season, I'm sure it has something to do with the dreary weather.  This is by far my favorite pale gray that I've come across to date.

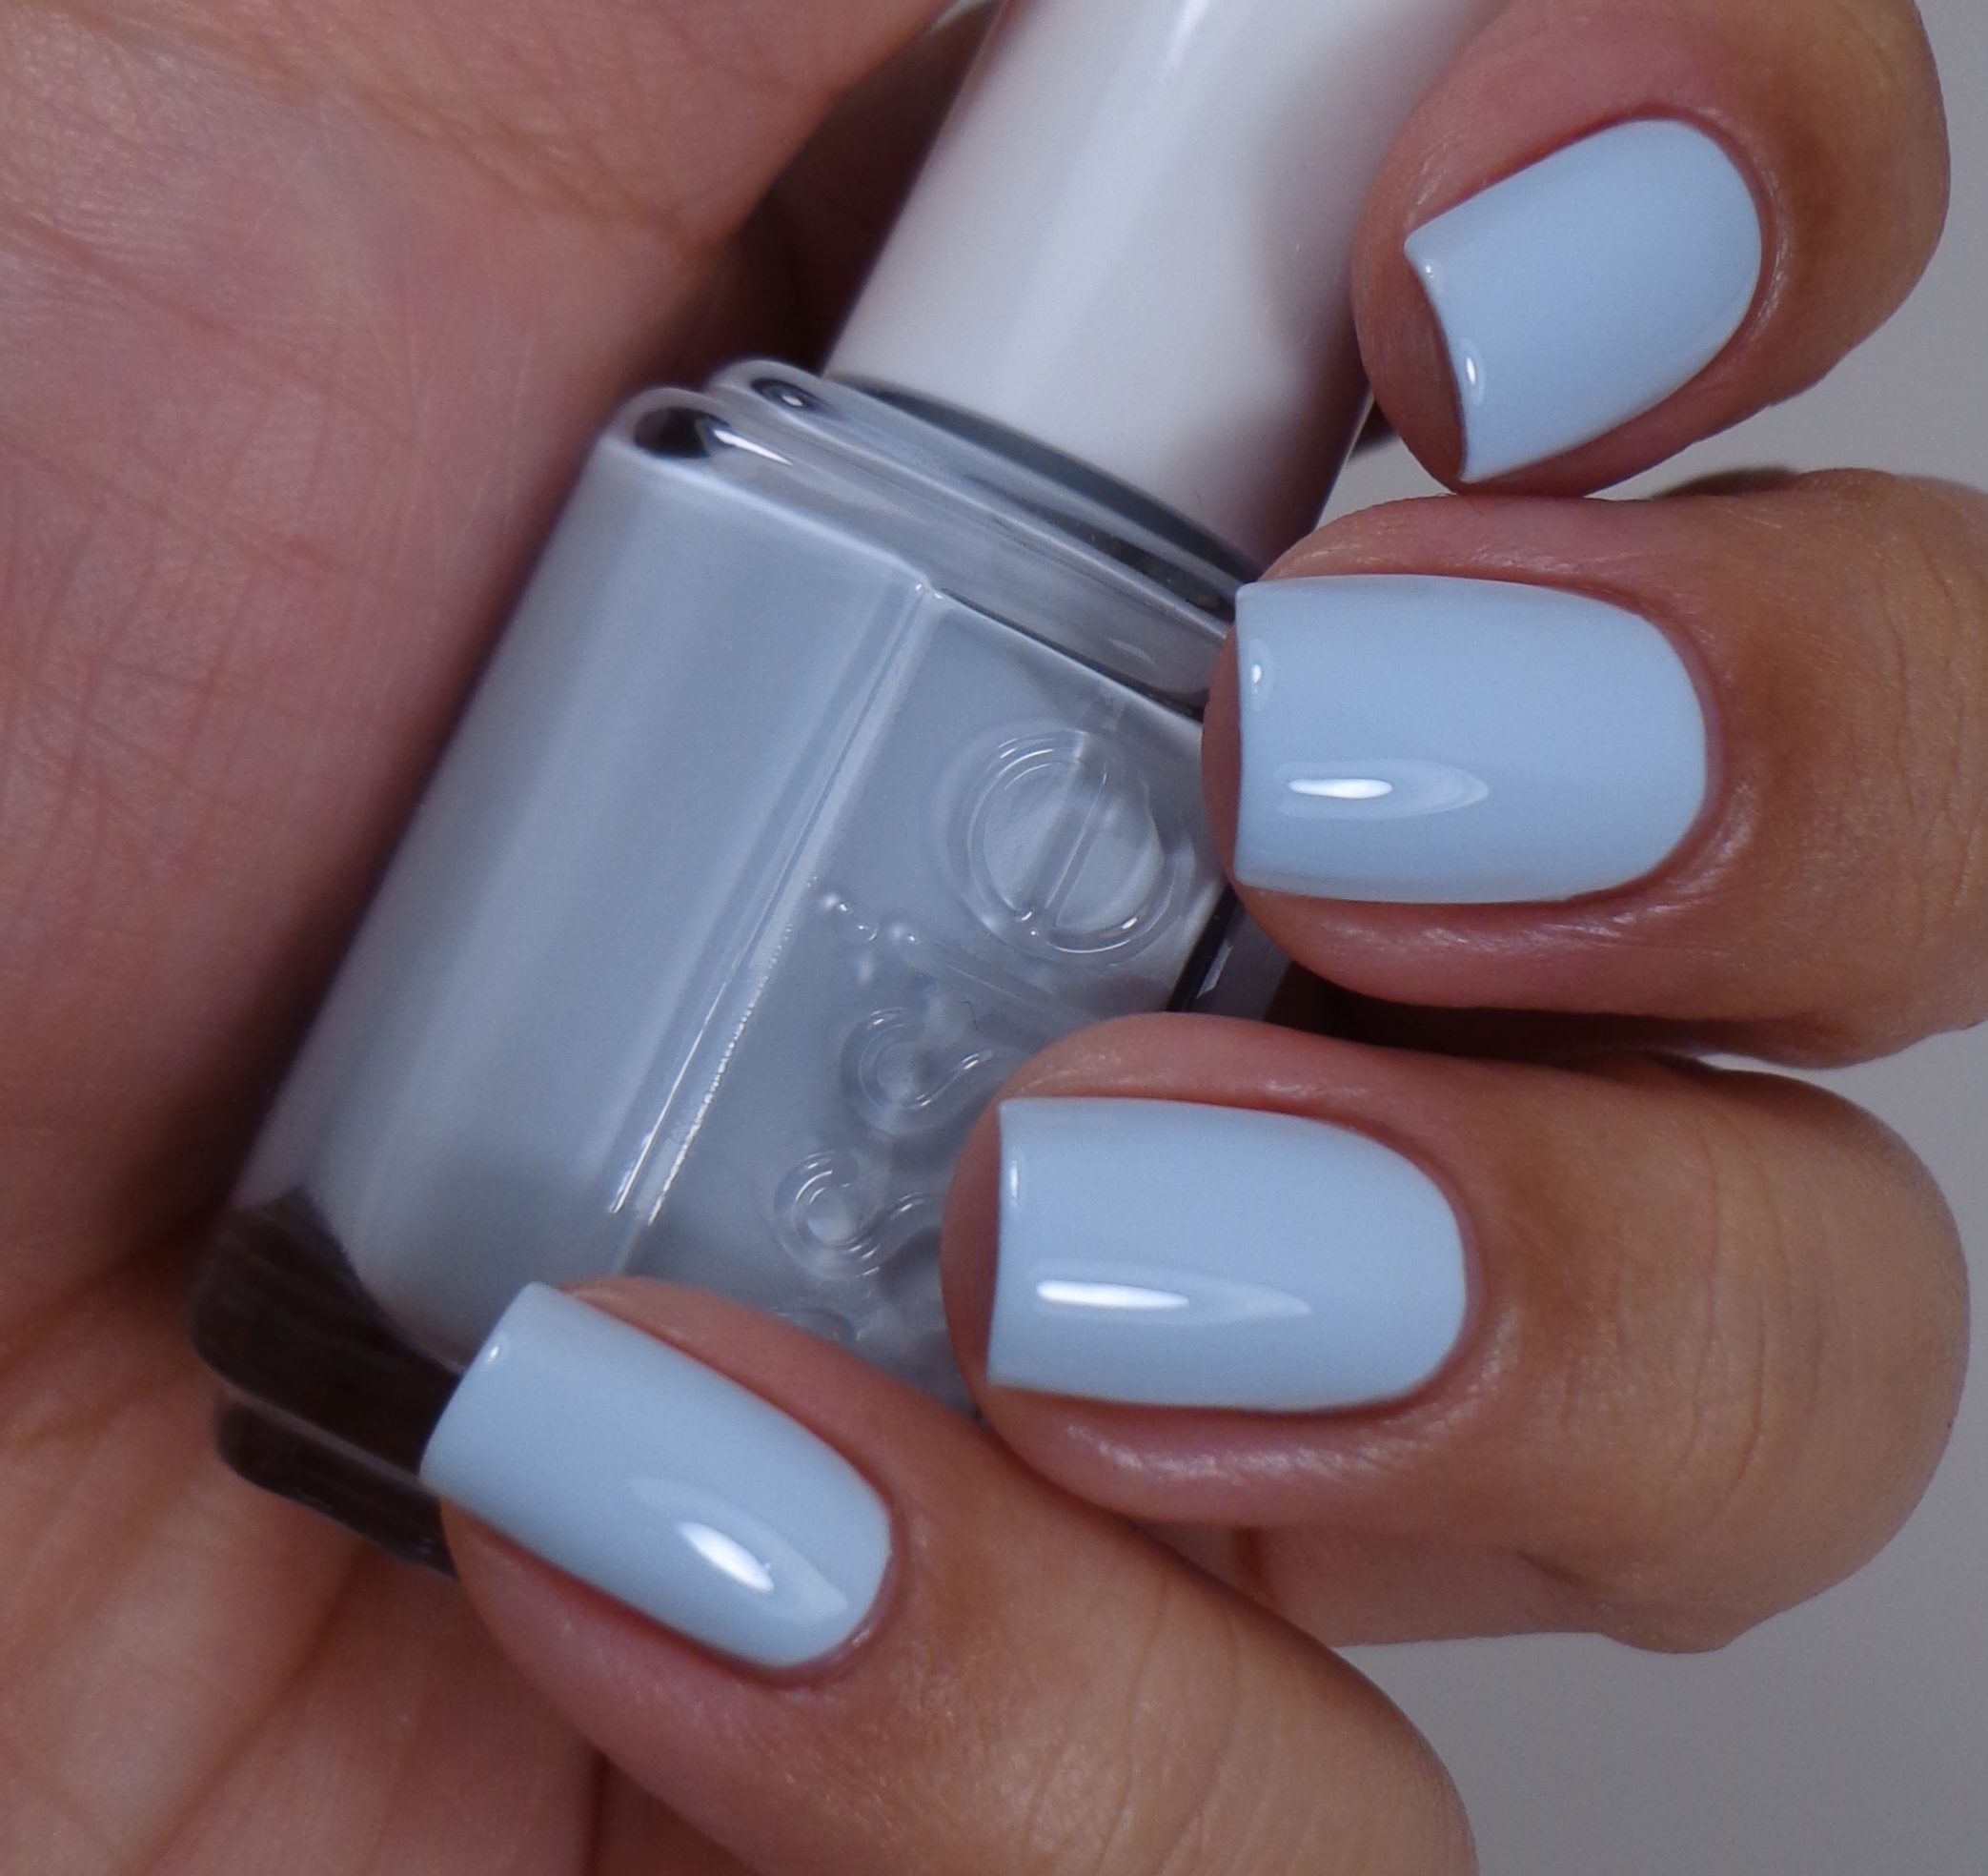
Find Me An Oasis by Essie


A super pale creamed blue.  I just love blue hues in the cold.

Nice Is Nice by Essie


My favorite lilac/ lavender polish.  I love that it's not too blue based.

Jade Is The New Black by OPI


The holidays have come and gone and you're probably over red nails so try a striking emerald polish instead.  I always get tons of compliments when I wear this color.

Call Me Irresponsible by Deborah Lippmann


Perfect case in point- this color is the "color of the season" and I don't own much in this color AT ALL!  So my noncommittal fix is to put it on my fingernails!

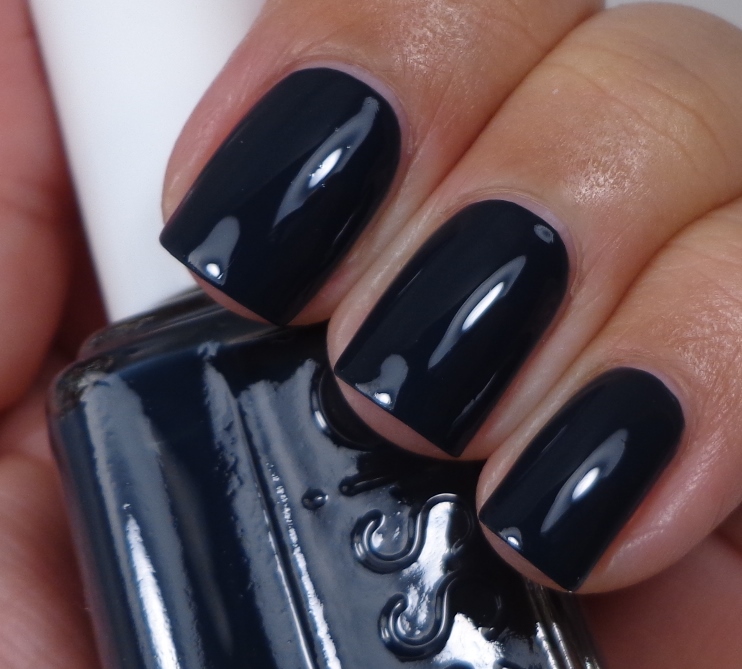
Mind Your Mittens by Essie


A blackened teal.  Love. It.

Suzi Skis In The Pyrenees by OPI


I love a black manicure, but this dark charcoal gray is the perfect updated and softer alternative. 
(Just for the record- I couldn't say this name 10x fast)   

I Sing In Color by OPI


I can't go through a single cold weathered season without rocking a super deep vamp-y red polish.  Here's another one to add to the bunch!
  
Just in case it's not as obvious as I think it is- my favorite polish finish is an opaque creamed finish and these are not my hands in all these photos. 

I hope you see a few shades you haven't tried before!  What is your favorite nail polish you've been wearing a lot this season?  Comment it below, I'd love to know!

Love,
Michelle  

Monday, January 20, 2014

Makeup Tip Monday- Coo Coo for Coco... nuts!?

Calling all beauties with dry skin!  I told you I had a Makeup Tip Monday for you and here it is:  

Coconut Oil!!! 


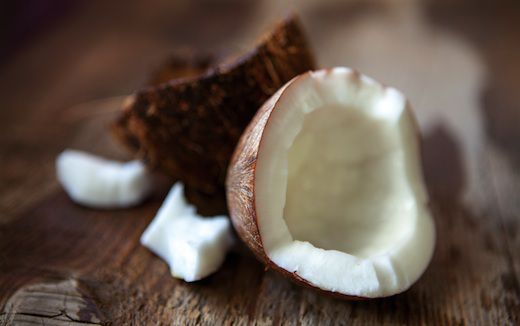
This stuff is magical!  I have two in my house- one in my kitchen (from Costco) to cook with and one in my bathroom (originally from Whole Foods but now it gets re-filled by the one from Costco) to slather on every last dry patch I have.  You can use it as a facial moisturizer, an eye cream, a hair mask, as shaving oil, as a lip balm, and as a cuticle treatment!  So you can quite literally use it from head to toe.  It has the softest, most natural, and not at all perfume-y, coco-nutty scent.  It's just wonderful.  

The fatty acids naturally in coconut oil help reinforce the skin's natural lipid barrier.  They help lock moisture in the skin, promoting some seriously mega hydration.   You can purchase it at your regular super market; you'll find it next to all your other cooking oils.  It comes in a solid form and the texture is a combination between softened butter and candle wax.  That seems weird but it makes perfect sense once you touch it.  It’s workable like soft butter but it has somewhat of a waxy consistency.  However, once you work it in your hands and warm it up it turns into a regular and familiar oil texture.    


Let’s get into all the different ways you can use it!!!

As a Facial Moisturizer and Eye Cream

If your skin in consistently dry and flaky, you'll love this.  Wash your face, exfoliate, and use a softener (it’s like toner but a lot more hydrating, so it’s better for people with dry skin), then slather this on!  It'll be like the long awaited drink of hydration your skin has been waiting for!  It'll smooth out dry patches and condition your skin, it'll minimize fine lines and wrinkles, and even out any natural redness (or "hot spots") on your skin.  You can do this regimen every night (only exfoliate as needed though).  

If you’re not a big makeup wearer, or just hanging out without it for a day, you can also do this regimen in the morning but if you are wearing makeup I would resort to your regular moisturizer since oils are natural makeup removers (oh yeah, you could use it for that too).  If your skin is truly that dry and it just soaks up the oil you could probably get away with just a tiny bit underneath your makeup, I wouldn't go too over board with it though, unless you want your makeup going for a trip-- off of your face! 

If this feels too greasy for you and you can't deal, I recommend mixing the tiniest bit (about the size of a dry bean) into your regular moisturizer.  That way you still get the benefits without the texture.  But the way to go is to just slather it on if you can.  It will NOT clog your pores or cause breakouts.  The molecular structure of coconut oil is too large to penetrate your pores and cause any of that.     

As a Hair Mask

This is a great once a week treatment.  Just section your hair into four sections (go from ear to ear and then a center part all the way down).  Slather this into each section and comb it through.  Put your hair into a bun or braid and go about your business.  Buns and braids cover a multitude of hair sins (aka bad hair days).  Leave the oil in for as long as possible and for a minimum of 2 hours.  Then just wash your hair like you normally do (I pray you know how to do that already)!

As a Shaving Oil

You can do this before or after your shower- whichever is your preference.  For the most hydration I do recommend doing it after, and if you are doing that I also suggest a light towel dry of the area you are shaving before you start.  Just a warning: It will clog up your razor- so have some hot water nearby to shake it off into. 

As a Lip Balm and Cuticle Treatment

No directions required!  Just put some on all day, every day!  To have some that I could take on the go and stick in my purse I took an empty MAC Paint Pot jar, cleaned it out, and then scooped some coconut oil into it!  Crafty huh!?  

I'm telling you- your skin will feel like a baby's bottom!  Oh wait- YOU COULD USE THIS ON YOUR BABY TOO!!!  Instead of baby oil (for all you natural product mama's out there) after a bath just massage them down with some coconut oil!  

Better yet- just fill your tub with coconut oil and dunk your whole family in!  Haha!  You may seriously consider that once you try this and see what a huge difference it makes!  Enjoy!


Love,
Michelle


P.S. Next weeks Makeup Tip Monday WILL actually be about makeup!  I promise :) 

Friday, January 17, 2014

5 Easy Steps To A Long-Lasting Manicure


It's always a frustrating thing to spend the time and money on a manicure that chips in 2 days and even worse- in just a few hours.  Here are 5 quick tips on how to keep that from happening.  I have been getting manicures regularly for a few years now and if I follow my own tips I won't have any issues.  If I don't, I might as well just go flush $12.  Using these tips I am able to keep my manicure looking fresh for up to two weeks.  


1. Nails are accessories not tools!  Ask someone else or just use a non finger nail tool (I usually use kitchen utensils) to crack open that can of soda or to peel off that sticker!  Treat your nails as the fashionable style statement that they are.

2. Use gloves!  I can't stress this one enough.  From washing dishes to scrubbing the bath tub and everything in between.  Your nails are way less likely to chip when you protect your hands while scrubbing, immersed in water, or when you're using any chemicals.

3. Moisturize your hands and cuticles!  The more moisture you put into your hands the less likely your nails will grow in dry and brittle causing polish to crack and then prematurely chip!

4. Add a layer of top coat every other day!  That'll just reseal everything into place and put an extra layer of added protection.  And don't forget the free edge!  My two personal, all time favorite top coats are

Seche Vite


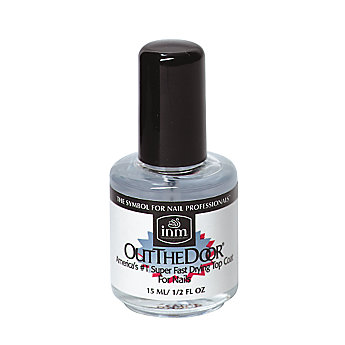
Out the Door

 Out The Door Fast Drying Top Coat

(you can get both at your local Sally Beauty Supply)

5.  Bring your own nail polish when you get your nails done!  That way if you do get a chip you can easily do a quickie patch fix!  This tip obviously doesn't keep your manicure from chipping, but it will help your manicure look perfect until your next appointment.   

May your nails be forever polished!  Have a great weekend beauties!

Love,
Michelle